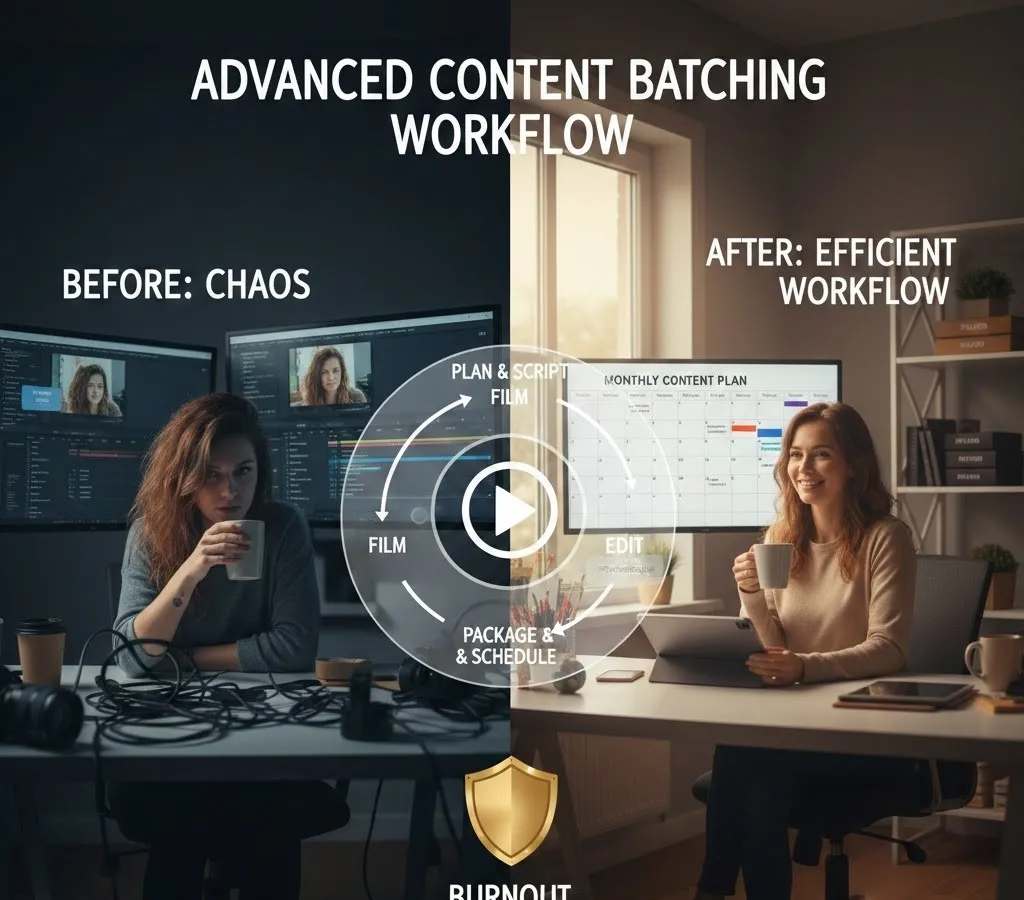
Learn a proven Advanced Content Batching Workflow to plan, script, film, and edit a monthly content plan in one week.
The life of a content creator is a demanding balancing act. The constant pressure to generate fresh, high-quality material often leads to stress, inconsistency, and, ultimately, burnout prevention. The secret to sustained success isn't working harder; it's working smarter. The solution lies in implementing an Advanced Content Batching Workflow—a systematic approach that compresses a month's worth of creation into a focused, highly efficient workflow of just one week.
This comprehensive guide will detail a proven system to plan, script, film, and edit an entire month of content in one week to ensure consistent uploads without the risk of creator burnout. By transitioning from a reactive, day-to-day grind to a proactive, Content batching model, you'll free up mental space, improve production quality, and reclaim your time.
Phase I: The Planning & Scripting (Days 1 & 2)
The success of the entire month hinges on meticulous front-loading. The first two days are dedicated purely to intellectual work: strategy, topic ideation, and detailed scripting. This is where the foundation of your monthly content plan is laid.
Day 1: Strategic Planning and Ideation
- Review and Analysis: Start by reviewing the analytics from the previous month. Identify the top-performing content, the topics that resonated most, and the best times for scheduling posts. This data informs the new monthly content plan.
- The Content Matrix: Map out all content pieces needed for the month (typically 4-8 main pieces, depending on frequency). Include various formats (e.g., tutorials, vlogs, reviews, short-form content).
- Example: Week 1: Tutorial; Week 2: Review; Week 3: Q&A; Week 4: Deep Dive.
- Keyword and Topic Generation: Select your main topics based on analytics and trending searches. Ensure each topic has a clear goal (e.g., inform, entertain, convert).
- Outline Creation: For each piece of content, create a detailed outline. This includes the main title, key talking points, a clear Call-to-Action (CTA), and any necessary visual aids or B-roll ideas.
Day 2: Detailed Scripting and Resource Gathering
- Full Scripting: Write complete, detailed scripts or shooting guides for every piece of content. Even if you prefer a more spontaneous style, a detailed bullet-point script is non-negotiable for an efficient workflow. It saves hours in filming and editing.
- Tip for Burnout Prevention: Use text-to-speech software to listen to your scripts. It helps catch awkward phrasing before you film.
- Asset Checklist: Create a definitive checklist of all external assets needed: graphics, music tracks, stock footage, props, costumes, and relevant product links. Procure or organize all digital assets now. This prevents frustrating delays during the filming and editing stages.
- Set Preparation: Finalize your filming location(s). Test lighting, audio, and background elements. A prepared set eliminates setup time on the shooting day, critical for the Content batching process.
Phase II: The Filming & Production (Day 3)
Day 3 is the single, hyper-focused production quality day. All mental energy must be channeled into performance and execution.
The Power of the Shoot-Day Schedule
The essence of the Content batching model is to minimize setup and teardown time.
- Set Once, Shoot All: Set up your camera, lighting, and microphone once for the entire day. The only adjustments should be minor angle changes between content pieces.
- Wardrobe Changes (for visual variety): To make the content appear as if it was filmed on different days, plan two to three quick wardrobe changes. Film all content that uses 'Outfit A', then all content with 'Outfit B', and so on.
- Topic Grouping: Film all similar content back-to-back.
- Example: Film all introductions, then all main segments, then all CTAs. Or, film all content requiring a specific prop/background first. This keeps your mind in the same context, boosting efficiency and performance consistency.
- Minimizing Retakes: Use the teleprompter method (even if it’s just your laptop next to the camera) for flawless delivery. Aim for one or two takes maximum per segment. The goal is speed, not perfection. Minor flubs can be edited out; major reshoots destroy the efficient workflow.
Content Batching in Action
- Morning Session (4 hours): Focus on the four main long-form videos. The energy is highest, and the focus is sharpest.
- Lunch Break (30-45 minutes): A mandatory break to rest your voice and refocus.
- Afternoon Session (3 hours): Focus on shorter, high-volume content (e.g., 10 short-form videos/reels, video podcast segments, or blog intro video clips).
- Evening (1 hour): Review the footage. Perform a quick quality check on audio and visual clarity before tearing down the set.
By the end of Day 3, every single piece of footage for the entire monthly content plan should be captured.
Phase III: The Editing & Polishing (Days 4 & 5)
The subsequent two days are dedicated solely to post-production. This phase focuses on maintaining high production quality while using an assembly-line method to speed up the process.
Day 4: Assembly Line Editing
- Project Setup & Organization: Immediately ingest and organize all footage. Create a standard folder structure for every video (Source Footage, Final Edits, Graphics, Audio).
- Template Utilization: Create a universal edit template for the month. This includes the standard intro/outro sequence, pre-set audio levels, consistent font styles, and brand colors. Copy this template for all new projects. This is a massive leap for efficient workflow.
- The Rough Cut Pass: Focus purely on the content flow. For all videos, cut out pauses, stumbles, and unnecessary moments. Don't worry about graphics or music yet—just get the narrative structure right for all the content pieces.
Day 5: Refinement and Export
- Audio and Visual Polish: Go through all the rough cuts one-by-one, now adding the second layer of polish:
- Color correction and grading.
- Audio sweetening (noise reduction, compression, equalization).
- Adding B-roll, stock footage, and on-screen text/graphics based on the script checklist.
- Final Review: Watch each video at 1.5 times speed to check for any missed errors. Have a trusted partner or team member check the first video for a quick production quality assurance.
- Exports: Export all final videos using a consistent naming convention (e.g., YYYY-MM-DD_Topic_Final). Create separate versions for different platforms (e.g., vertical cuts for shorts).
Phase IV: Packaging and Scheduling (Day 6)
With the content complete, Day 6 is dedicated to the final packaging and the ultimate goal: hands-off scheduling and consistent uploads.
The Content Packaging Checklist
For every single piece of content, the following assets must be created and organized:
- Final Video File: (Exported and QA’d).
- Thumbnail/Cover Image: Use a batch creation process in a design tool (like Canva or Photoshop). Use a consistent template, only changing the text and primary image.
- Detailed Description/Show Notes: Write the text, including the title, a brief summary, key takeaways, affiliate links, and required legal disclaimers.
- Tags and Keywords: Generate a list of relevant tags and search terms.
- Subtitle/Caption File (.SRT): Crucial for accessibility and SEO. Automated tools can generate these in minutes.
The Final Scheduling Process
- Platform Uploads: Upload all videos and content pieces to their respective platforms (YouTube, Blog CMS, Podcast Host, Social Media Scheduler).
- Metadata Entry: Input all titles, descriptions, tags, and thumbnails created in the packaging step.
- The Crucial Step: Scheduling: Use the platform's native scheduling feature or a third-party tool to set the exact date and time for all posts, based on the monthly content plan. The entire month's content should now be set to auto-publish.
This finalizes the Content batching cycle. By the end of Day 6, the creator can walk away knowing the consistent uploads for the next 30 days are secured.
Phase V: The "Off-Week" and Maintenance (Week 2, 3, 4)
The genius of this Advanced Content batching Workflow is the creation of three weeks of buffer time. This "off-week" is essential for long-term burnout prevention and strategic growth.
Time Reclaimed: Focus on Growth
Instead of scrambling to create, the creator can now dedicate time to high-leverage activities:
- Audience Engagement: Spending quality time replying to comments, emails, and DMs. This is where real community growth happens.
- Learning & Strategy: Researching new industry trends, mastering a new editing technique, or attending webinars.
- Repurposing Content: Taking the main video assets and turning them into smaller pieces (e.g., quote graphics for Instagram, written summaries for LinkedIn). This leverages the high production quality of the batch.
- Rest and Recharge: Crucial for burnout prevention. The mental space gained is reinvested in creative energy for the next batching week.
Maintenance and Monitoring
During the off-weeks, the main focus is on monitoring the already scheduling content:
- Analytics Tracking: Monitor the performance of the scheduled content. Which videos are doing well? Why?
- Idea Capture: As new ideas naturally emerge, capture them immediately in a dedicated document. This starts the ideation process for the next monthly content plan, making the subsequent batching week even easier.
The Long-Term Benefits of Content Batching
Implementing this Advanced Content Batching Workflow transforms a content business from a stress factory into a well-oiled machine.
- Superior Production Quality: Focusing all creative energy on a single task (like filming) for an entire day leads to better concentration and performance. The deep focus allows the editor to maintain consistency across the board (lighting, audio, color grading), resulting in a uniform, high production quality across the entire monthly content plan.
- Radical Burnout Prevention: The buffer is the ultimate protection. Knowing that an entire month is already done removes the stress of missing deadlines. This frees the creator to take sick days, go on vacation, or simply enjoy a non-work-related weekend, all while maintaining consistent uploads.
- Maximum Efficient Workflow: Switching between mental states (strategic planning → creative writing → performance → technical editing) is the number one time-killer. Content batching eliminates this "context switching," enabling flow state for maximum productivity. This efficient workflow drastically cuts down the total hours required to produce the content.
By committing to this seven-day (or even six-day) cycle, content creators are not just buying time; they are buying creative freedom, consistency, and a sustainable career. The investment of a single, focused week delivers a monumental return on time and energy, proving that the most effective way to beat burnout and grow your channel is through the power of Content batching.